Featured

About Me

This is my Santa Cruz Bantam, her name is Gloria (Trail: Dwelling Loop at Blankets Creek, Canton,GA)

Be yourself; Everyone else is already taken.

— Oscar Wilde.

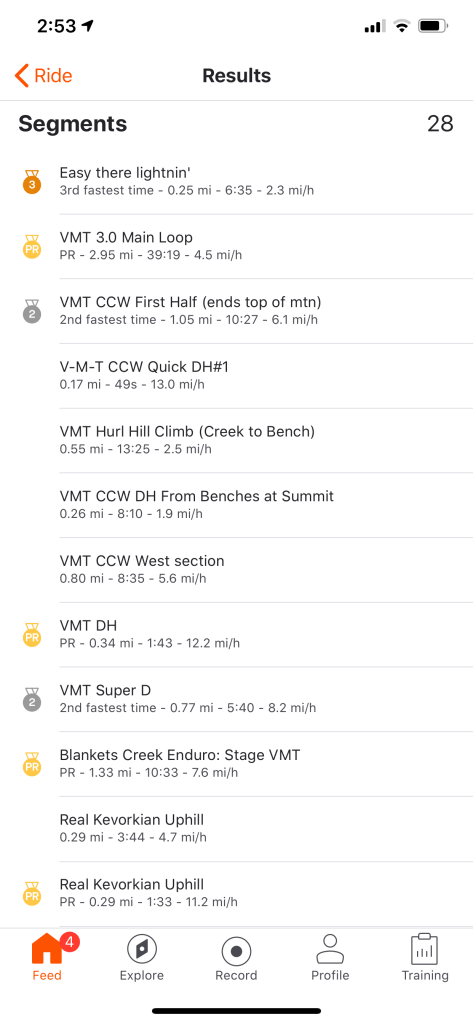
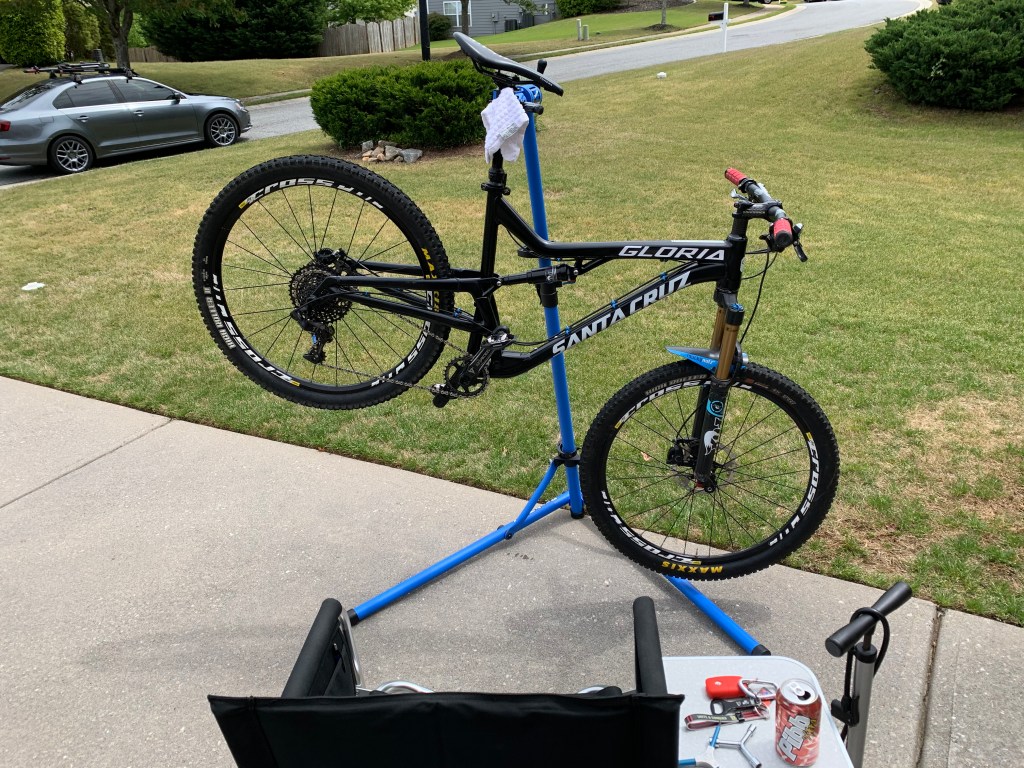
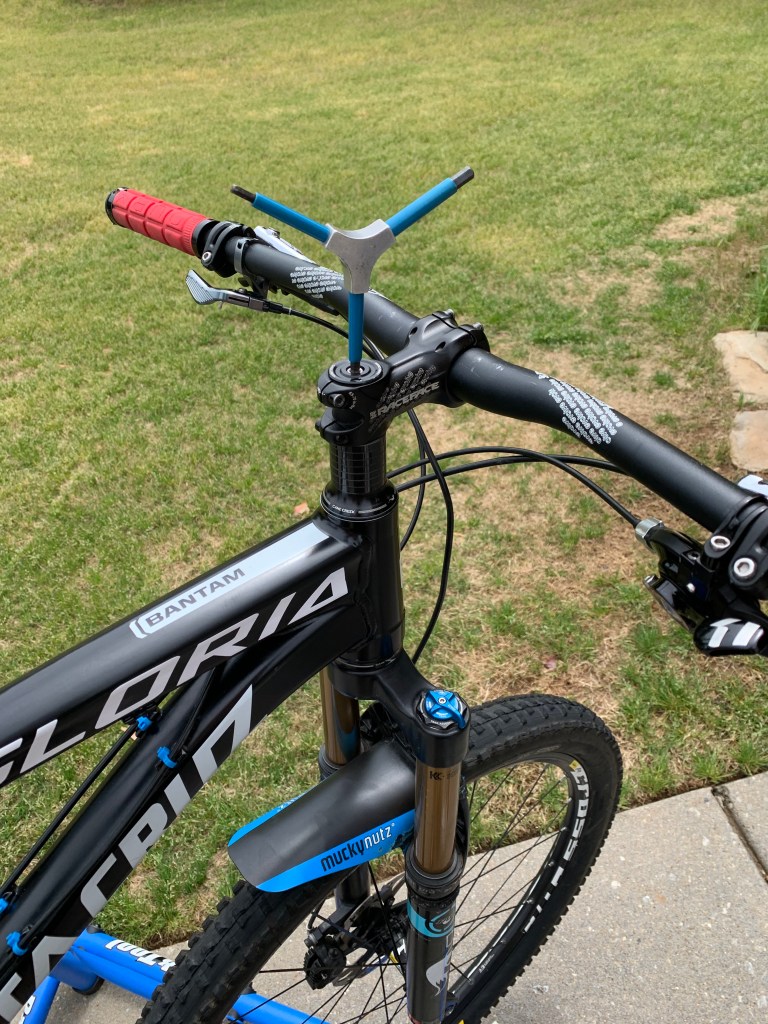
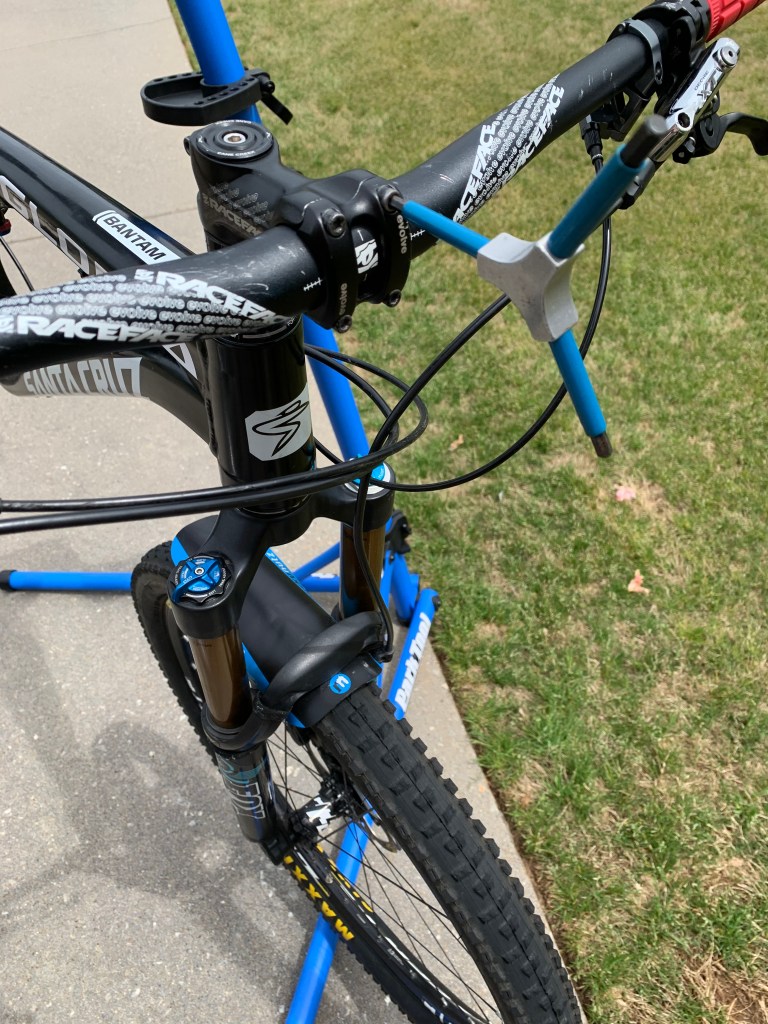
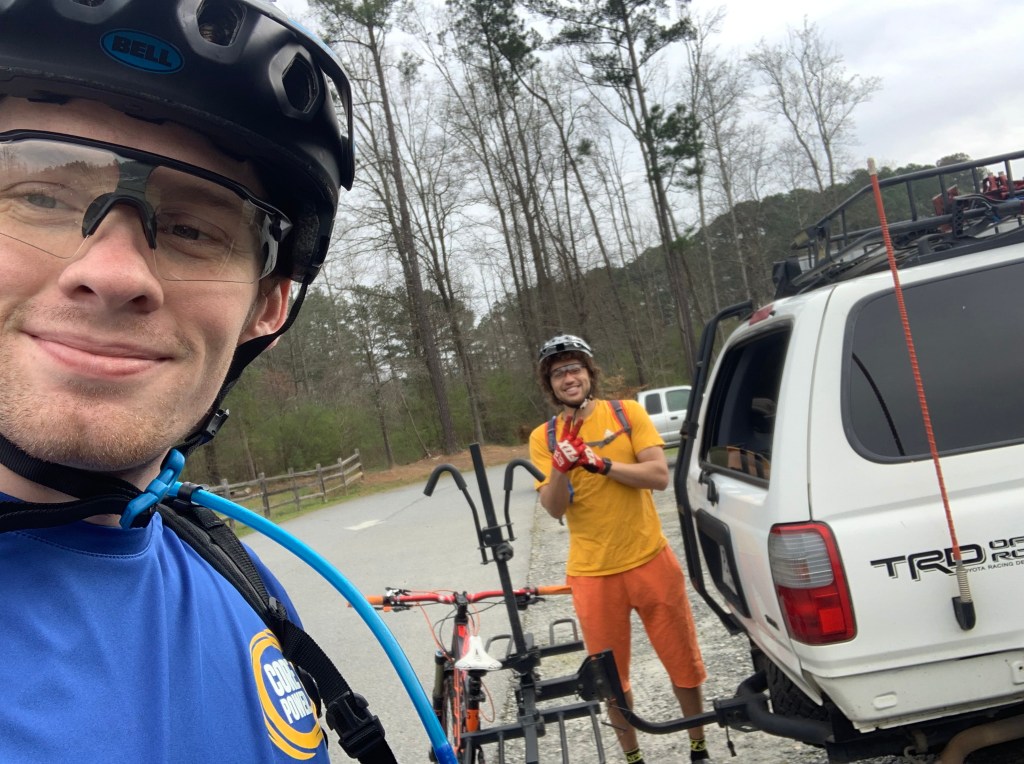
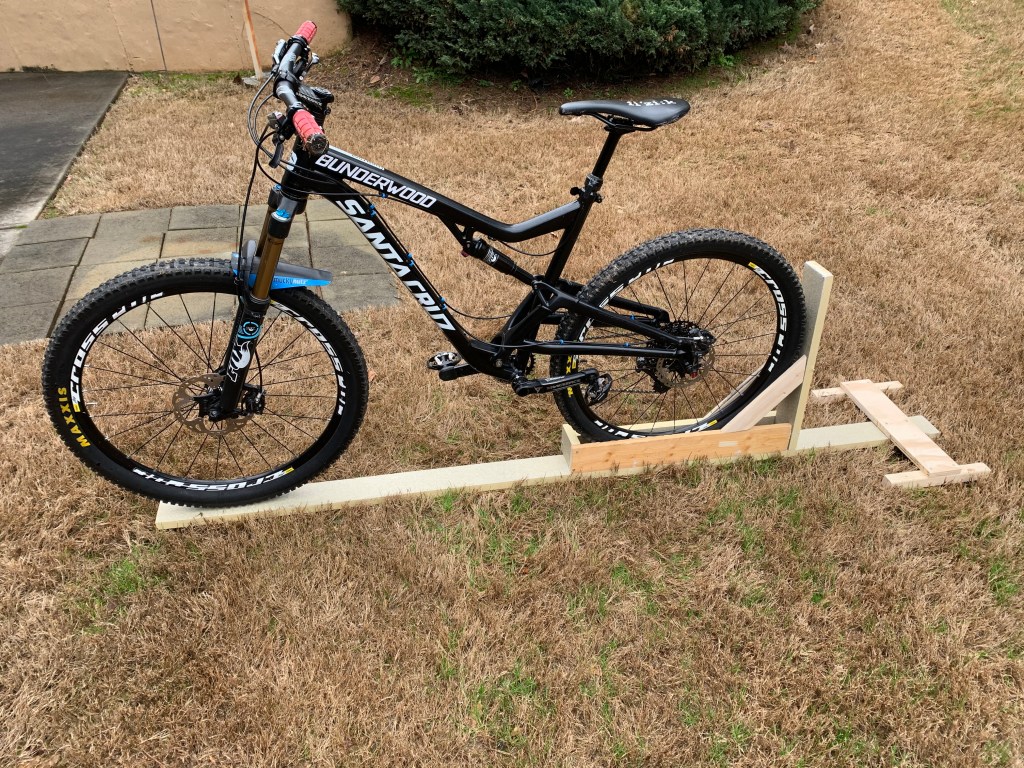
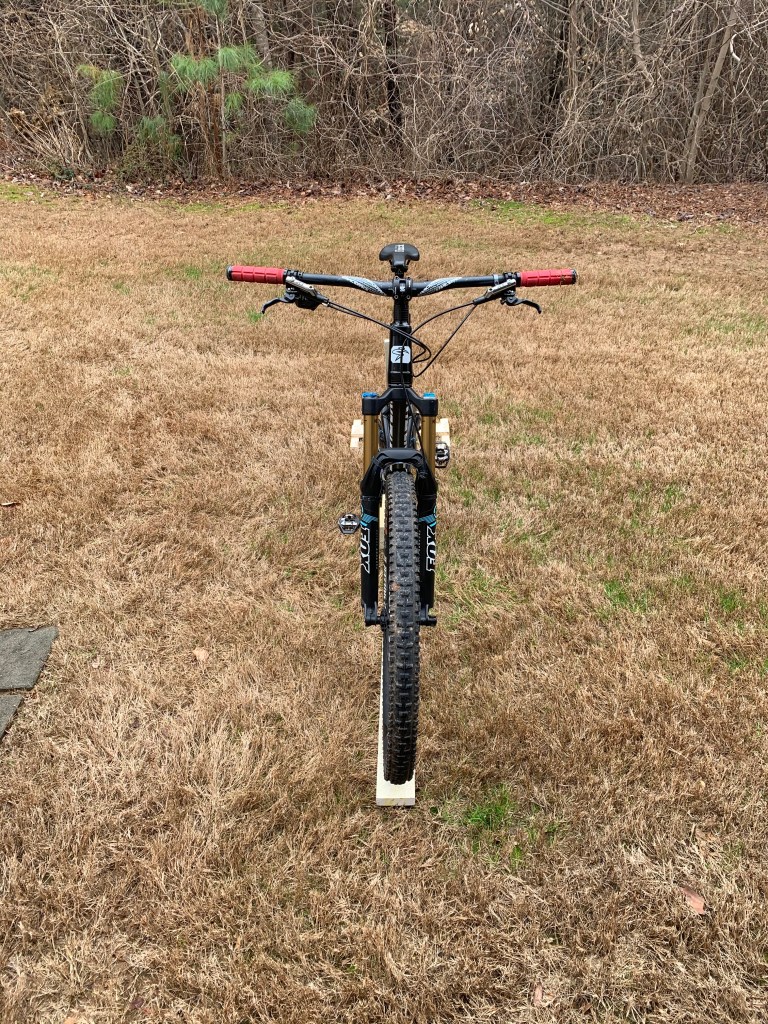
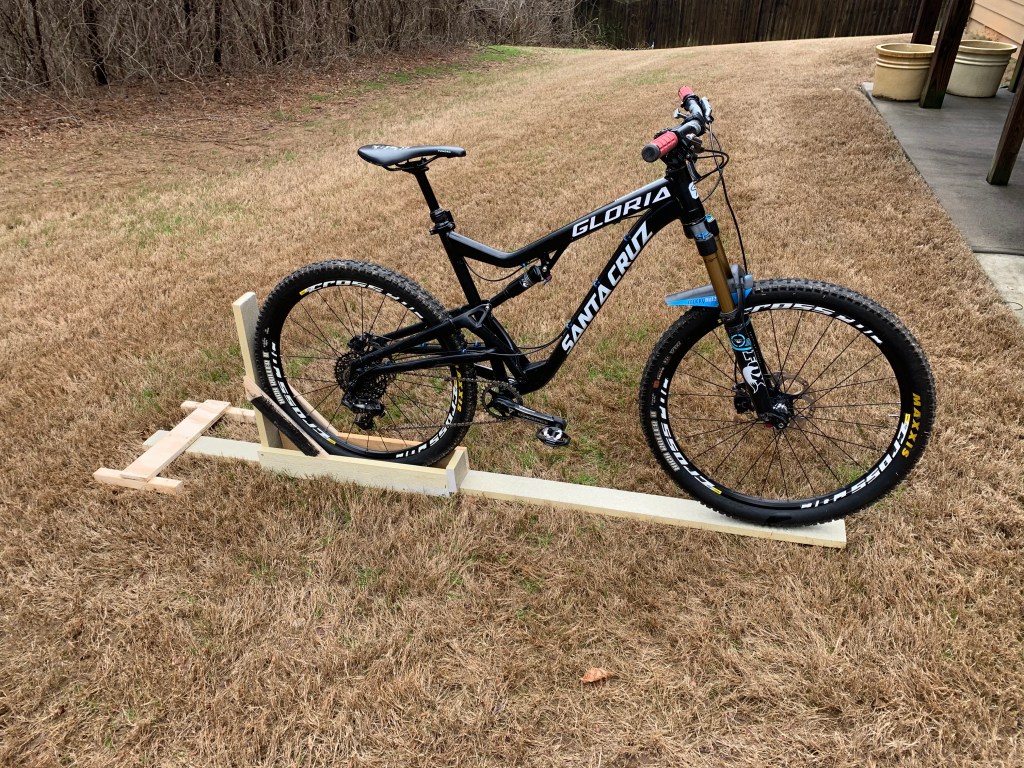
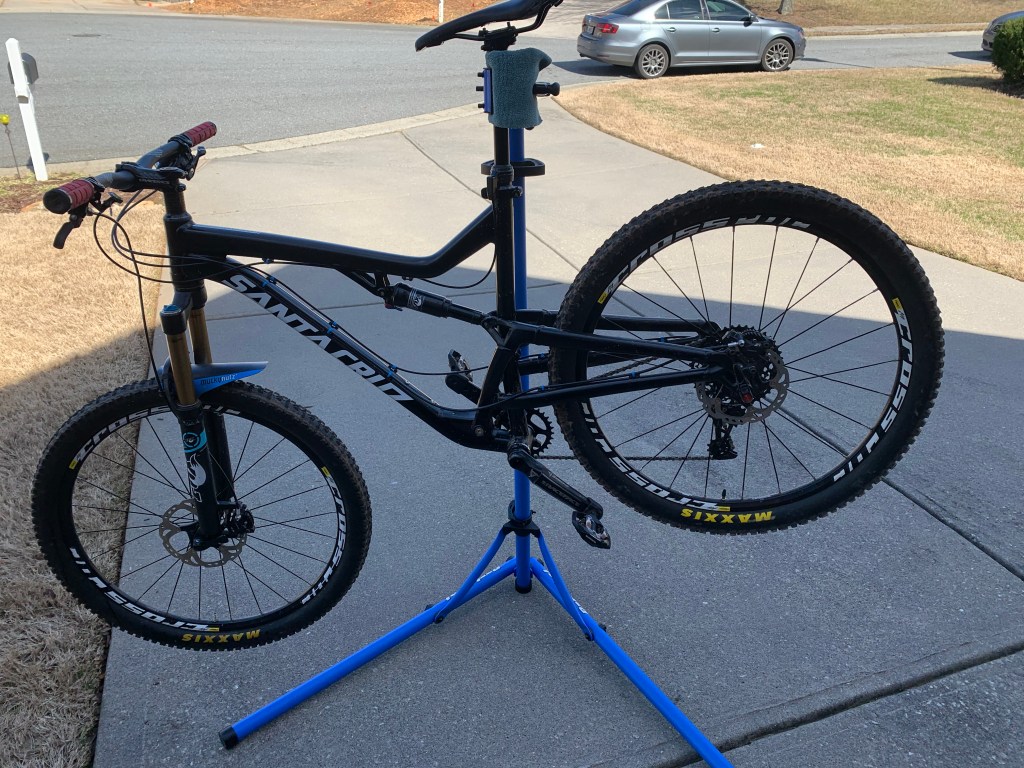
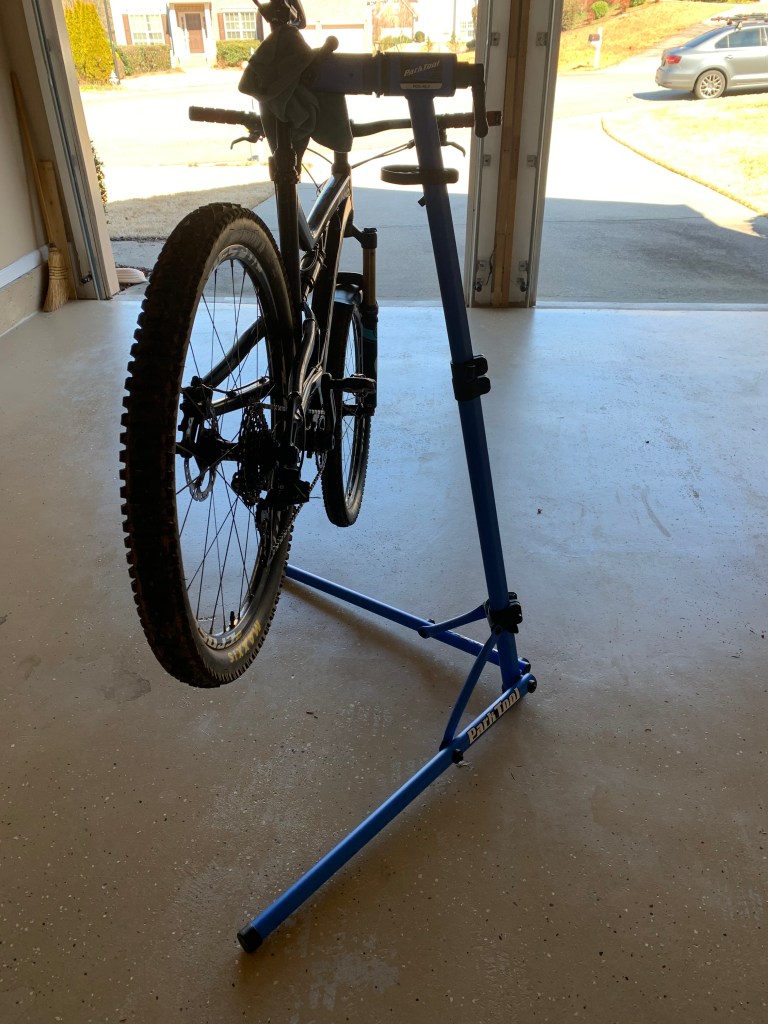
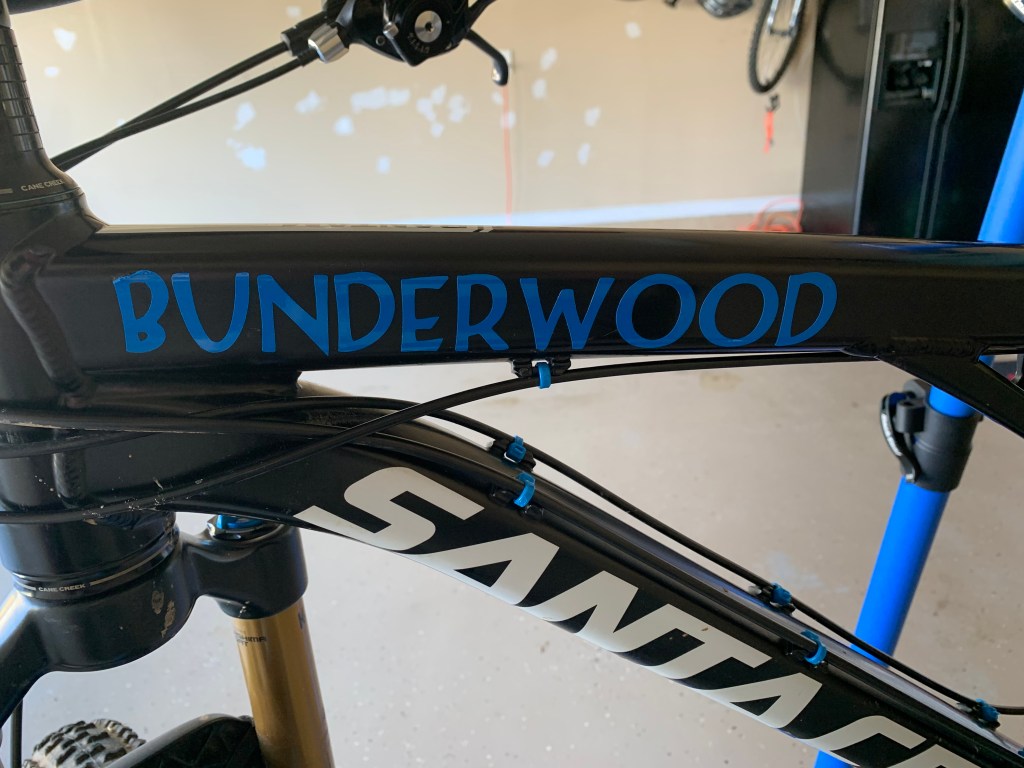
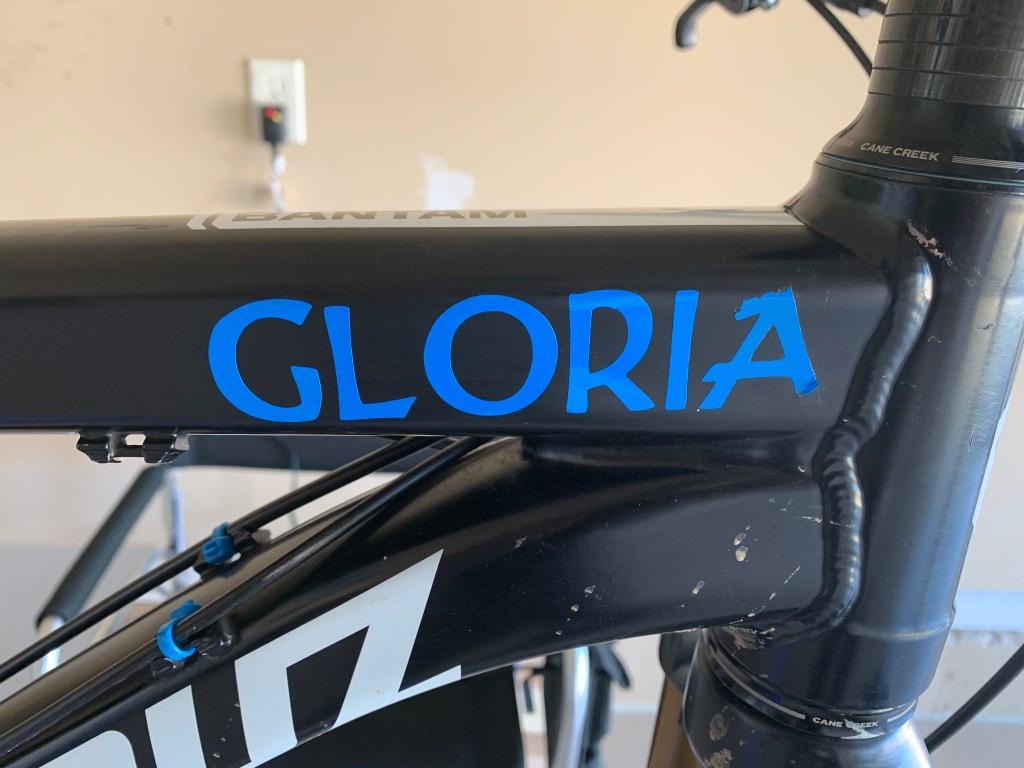
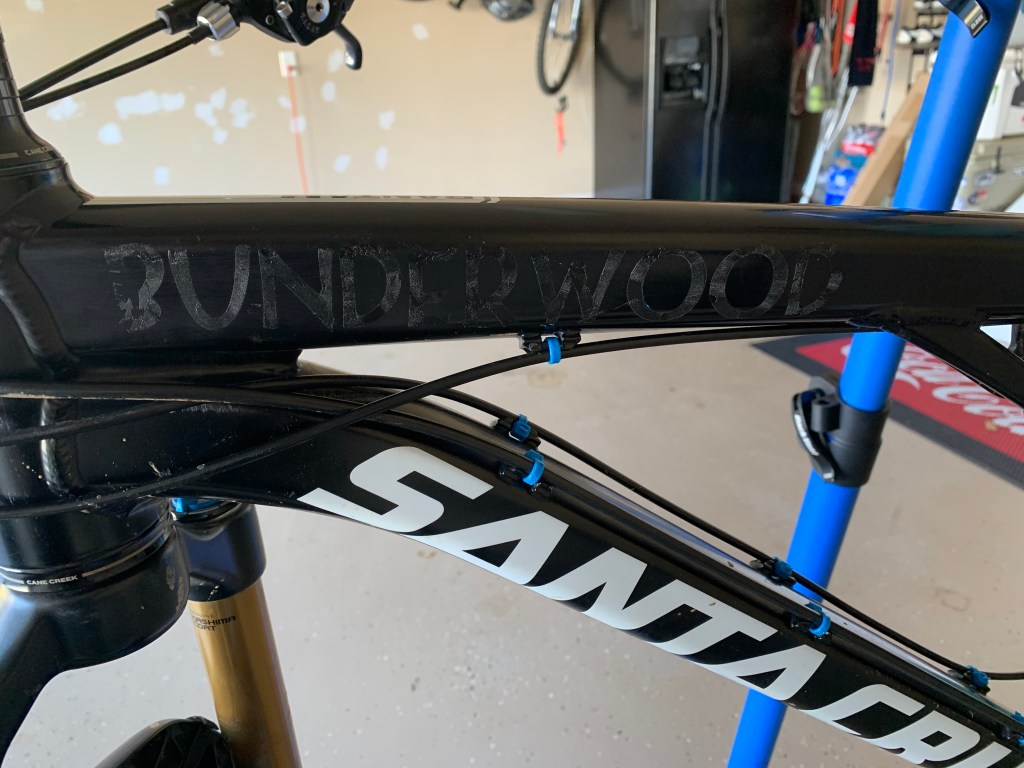
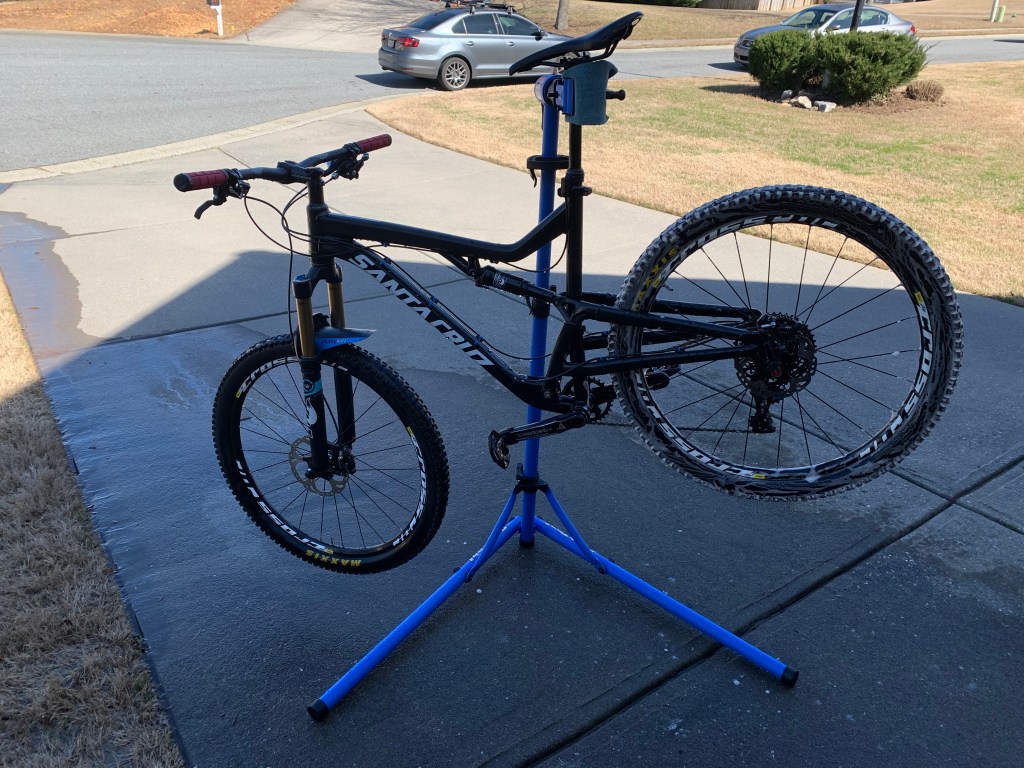
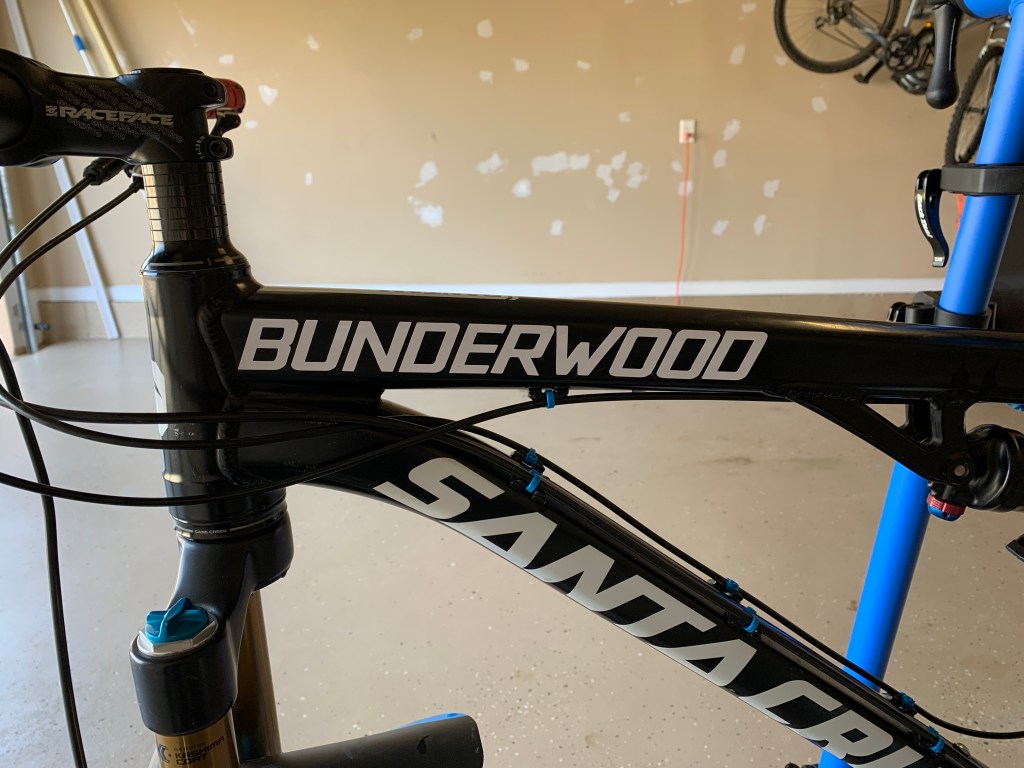
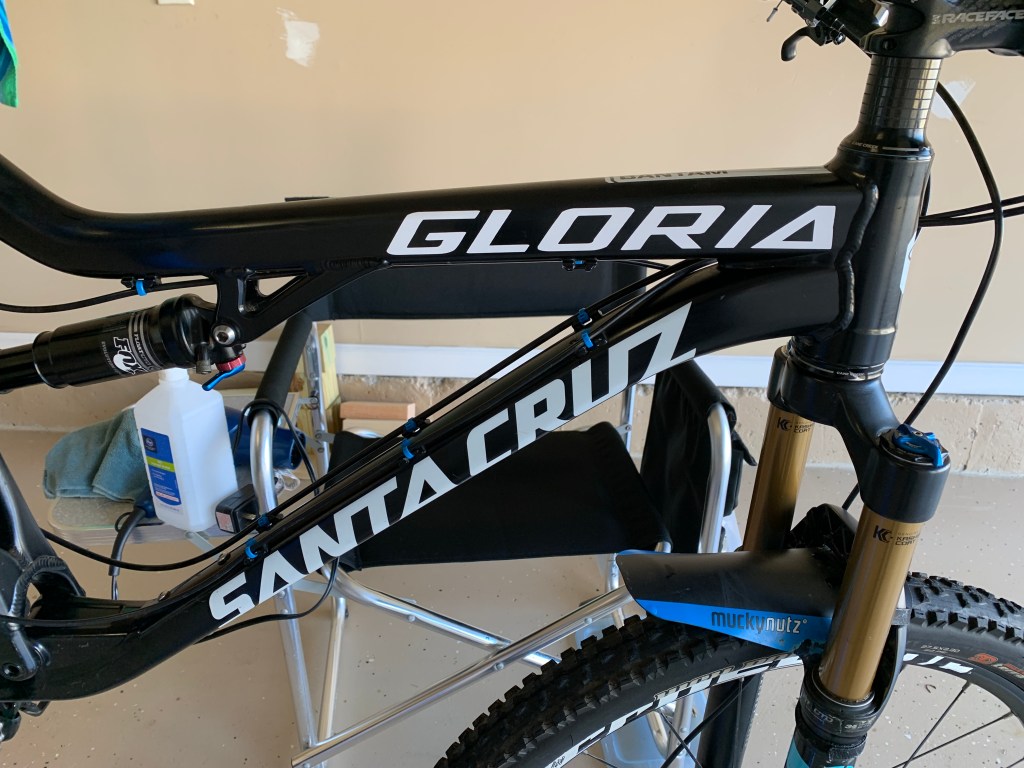
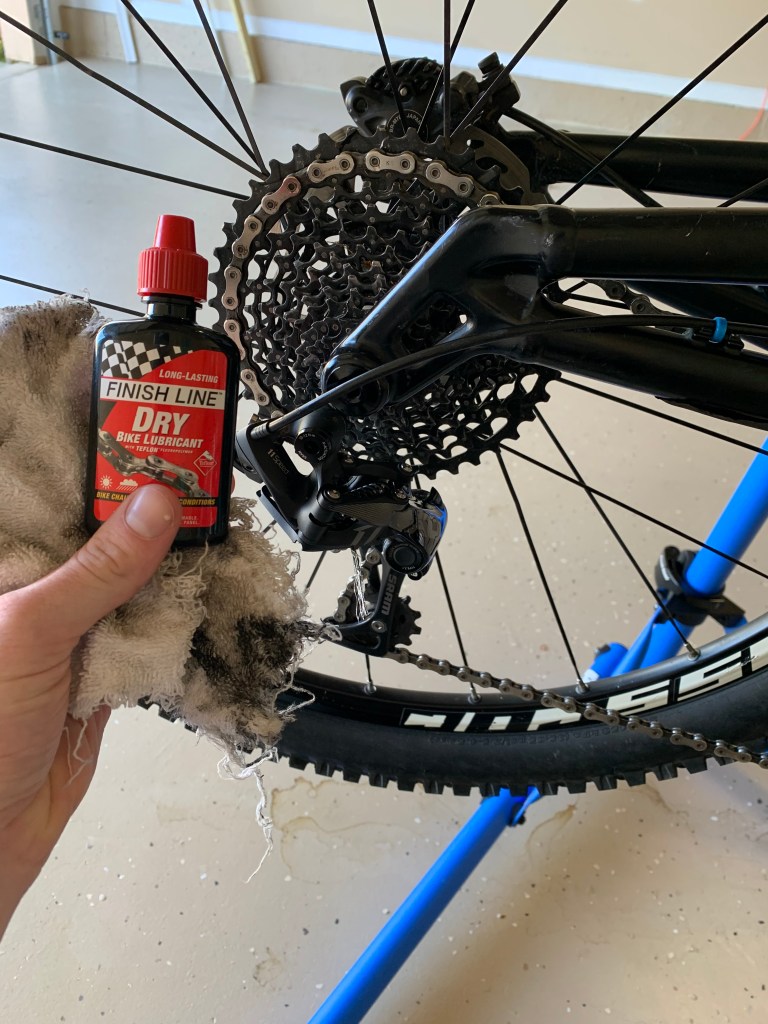
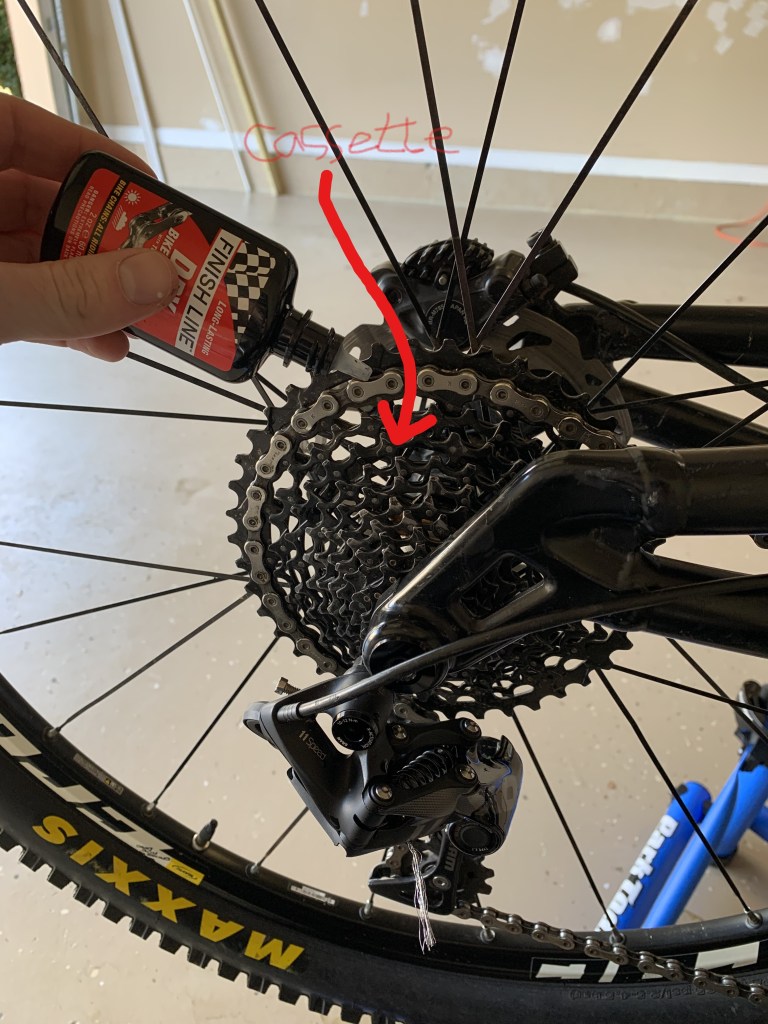
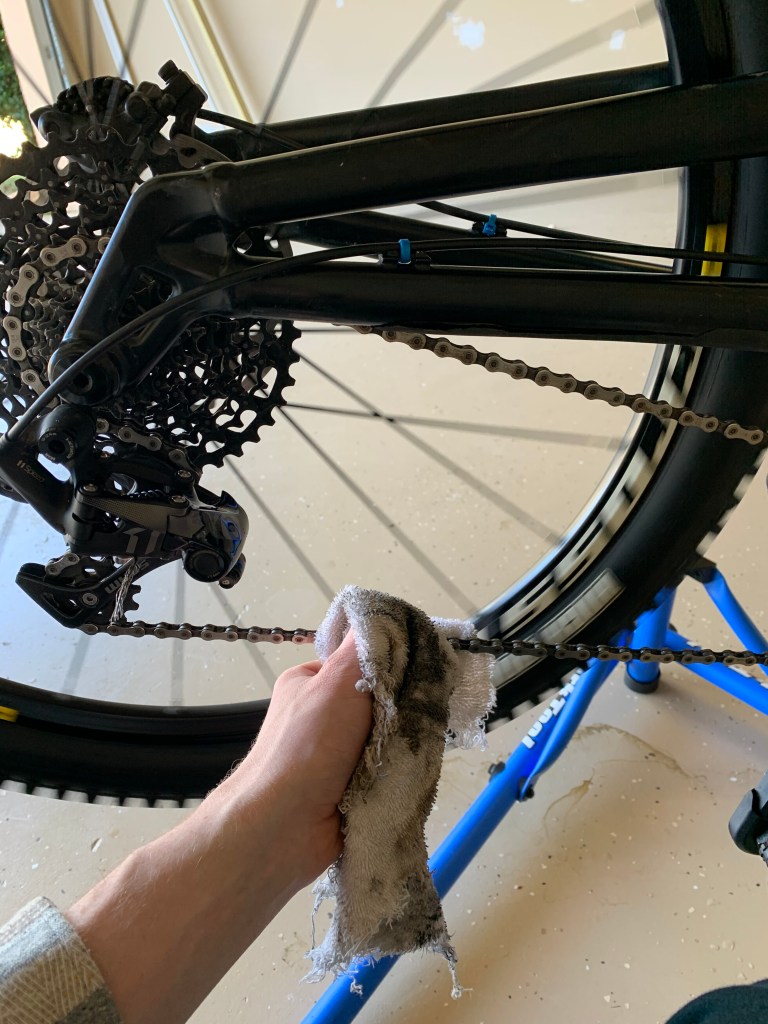
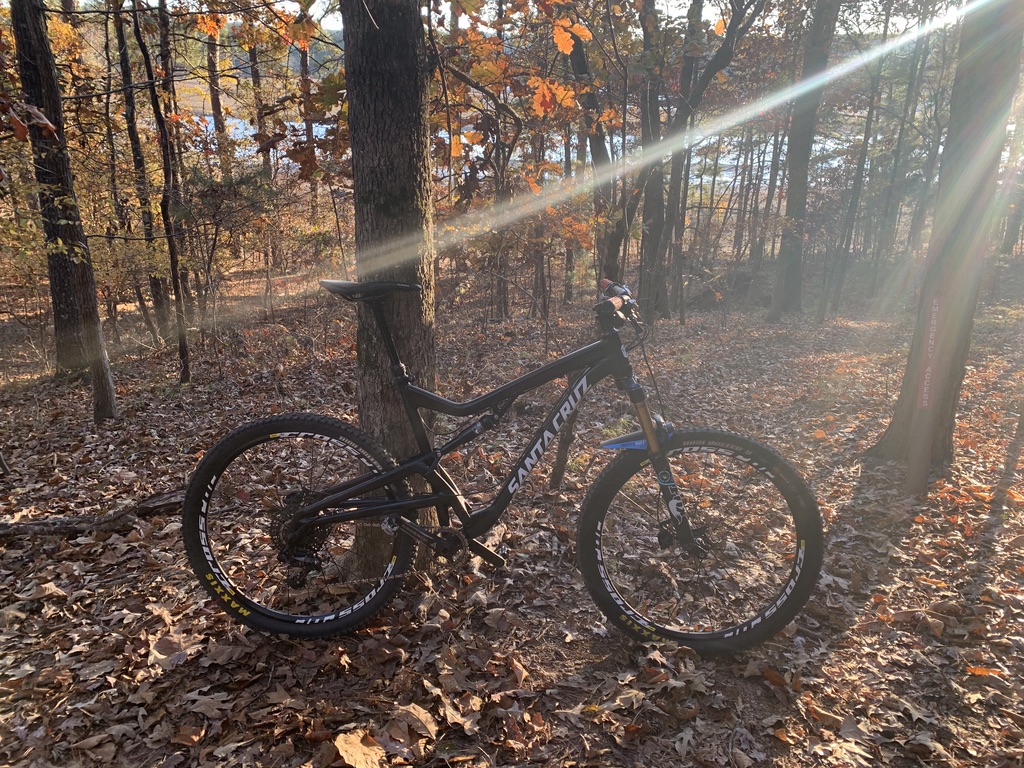
Hello everyone! My name is Bailey Underwood and I am starting this blog to express and write about my love for mountain biking. I will be posting about my adventures on the trails, working on my bike and product reviews around the sport of mountain biking. Here is a little about me, my love for mountain biking started back in 2013 when I started watching Redbull Rampage, which is an extreme downhill mountain biking competition, with my friends. My friends and I decided to get bikes and try out the sport. I got my first bike, a Giant Revel 29er, that Christmas. My first bike was not any special, it was a cheap bike that gave me a lot of bang for the buck. It was a hardtail, meaning it only had suspension in the front of the bike and not the rear, it had 29 inch wheels which would allow me to roll over rocks and roots easier with the larger size wheel and it was fairly light in weight so it was a great bike for a beginner. I started riding trails near my house like Blankets Creek and Old Rope Mill park. Both trail systems are really well put together and well kept up. I lucked out with having two amazing trail system super close to my house that were popular and always had other cyclist riding. I have never been on the trail alone when my friends could not make it and it has also given me the ability to ask questions about the sport and get answers from more experienced cyclist. It has been seven years now since I started riding mountain bikes and a lot has changed. I now ride on a Santa Cruz Bantam which has full suspension and wheel size is down to 27.5 inches and also has a ton of upgrades to it. I have added a dropper post, drop my drivetrain down to a single front sprocket and have 11 in the rear, I have also added a bunch of RaceFace components from handlebars to the crankset and more. I love my bike and would not trade it for anything, but my bike is not the only that has changed in the last seven years. I have gained a lot of experience, have had a lot of crashes and falls, have broken many components and have dropped a lot of time. I have also road more bike trails including Big Creek in Roswell (which could be gone soon #savebigcreek), Bear Creek in Elijay, Raccoon Mountain in Tennessee, and most recently Vail, Colorado. I would like to go to a few new places for this blog so I can gain more experience and share it all with y’all.

Thanks for riding with me today!

Bailey Underwood

My Bike Rack

How do you transport your bike? Well I use a roof rack system made by the company Yakima. I have had this rack for close to two years now and I have made some changes to it over the two years but overall, I love this thing. For some specifics I have the 58” round cross bars with a Frontloader tray on one side and a Forklift tray on the other side. This bike rack has made my riding life so much easier than it used to be. The bike rack I had before this was one I strapped on the back of my car then strapped my bike to the rack and it was a little sketchy in my opinion I would always just pray that my bike would not fall off the rack while drive but this bike rack was a huge upgrade. I originally started with two Forklift trays and I was not the biggest fan because for that bike tray you have to take off your front wheel and you lock the fork to the tray. It was not that bad it was just annoying to have take the front wheel off every time I wanted to go ride. When I got my new bike things changed though, my new bike has what is called a thru- axle meaning to get the wheel off I had to take the axle completely out of the fork and drop the wheel out and the fork did not have opening on the bottom which meant I could not use the Forklift tray any more. I got lucky though one of my close friends had to sell his bike and had a Frontloader tray that he was not using and I offered to buy it off of him but he ended up just giving it to me. It was amazing of him because if I had to buy one it would have been close to $200. The Frontloader tray made me love this rack more than I already did because I could just put my bike up on the rack with out taking anything off and just tighten everything down and I was good to go. I do not really have any negatives about this bike rack. It looks great on my car and its easy to use. There is not much more I could have asked for; I am now loyal to Yakima because every question I have had about the rack I call in and their customer service is beyond great. I highly recommend this company and the rack to anyone looking for a rack system.

My Routine for Riding

In my last post I talked about the routine maintenance I do on my bike after I put a certain number of miles on my bike. I normally do that check down between every 50-100 miles which normally takes me a month or two and sometime longer depending on how much I actually get to ride. Lately because of COVID-19 I have been able to ride a whole lot. Good thing mountain biking follows social distancing! For the past couple weeks, I have had the chance to ride at least once a week between homework and the parks being closed due to the rain and the trails being too wet. So, when I head out for a ride, I have a routine that I normally go through to prepare for it, and it goes something like this. First, I get dressed I wear the same thing riding almost every time because its comfortable and I do not get too hot after I start riding. I wear a pair of black Columbia shorts that are very light weight and flexible so I can move around without being uncomfortable, I usually wear a dry-fit shirt  which I have multiple of so that changes almost every time, I have several pair of riding compression shorts that are padded in specific areas to make sure I’m comfortable for an entire ride, and finally my clip in shoes. My clip in shoes are specific for my pedals and they lock my feet to my pedals which makes my pedaling more efficient because instead of only getting power from pedaling downwards I also get power from pulling my feet back up and it also works out different muscles in my legs which is nice. After I get dressed, I pack my riding bag which has a water bladder in it so I can hydrate while I ride. The items in my bag are the same every ride. I carry the water bladder along with a multi-tool and tire repair kit for quick trail fixes, a small lightweight first aid kit in case I crash and then a snack which is normally a granola bar or a pack of peanuts. The next step is loading my bike on to my bike rack and head to the trails. Once I get to the trail, I do a mini check down on my bike just to make sure everything is in proper riding condition then I head out to start putting in some miles. I normally aim for ten plus miles a ride because after ten I am normally pretty tired, but I try to ride as long as I can. I also track my rides with an app called Strava which has a GPS that tracks what trails I ride, my speed while riding, my heart rate and even compares my performance to other that have ridden that trail. I love Strava, here are some of my results!

The Check down

I have had the chance to put in a lot of miles on my bike during this quarantine. I get to ride multiple times a week and I am have a blast. Biking is a great hobby to be into in a situation like this, it is a great way to exercise and it is great to be able to get out of the house. All while following the rule of being six feet apart from other people. While riding trails you rarely get within the six feet of anybody unless you are passing them, or they are passing you. With all the miles I have been putting gin the past couple of weeks it is time for some routine maintenance. Routine maintenance for me is just a quick check over of the bike doing the maintenance that I know how to do and checking for anything else to make sure I do not need my local bike shop to do anything.

First, I wash my bike because it is nice to work on clean parts. Washing the bike before performing any type of maintenance makes it easier to see the area where you are work and when the surfaces are clean and dirt free, it just makes it easier to work. After my bike is clean and dry, I start the check down. The check down is really just me checking all the bolts to make sure they are tight, checking the air pressure in my tires, checking to make sure drivetrain is still aligned with the cogs, and re-oiling the chain. I normally start the check down at the handlebars an make a back words “W” to make sure I go over every part. At the handlebars I check and make sure the stem is not loose where it connects to the fork and the handlebars. Then I check the shifter and brake levers to make sure they are not loose and in the correct position where I like to ride. Those two steps take care of the handlebar area; next, I move down to the front tire and check the air pressure. I have tubeless tires which meaning instead of having a tube inside my tire like I normal bike I put a liquid solution that plugs up all the areas that let air out making my tires airtight. There are several advantages to going tubeless. Since I do have tubeless tires, I like to run specific air pressure to make sure my tire is stiff enough for the trails but flexible enough where my tire will not leak air. So, I run my front tire between 26-28 psi and my rear tire at 28-30 psi. The rear tire should have more air because when you jump that typically the tire you land on first and also your weight is mostly over your back tire so it should be slightly stiffer. After I check the tires, I move to the rear shock bolts and then the pedals just making sure everything is snug. Finally, I check the drivetrain and chain to make sure everything is properly aligned and lubricated. The drive terrain is the most important part of the bike because if it does not work then you are not moving anywhere. The drivetrain can also be knocked out of place very easily so it important to check or you can end up having a very expensive repair (which I learned the hard way). Luckily on this check it was in the perfect position but so I did not even need to touch it. At the end of my check my bike was in a lot better shape, but there are a couple of things I need to fix so it will be perfect. The first thing I need to do is bleed my brakes and put in more brake fluid. This is the first bike I have had with hydraulic brakes so this will be a first for me so I ordered the bleed kit and am just waiting for it to get here and I’m excited to learn a new skill. The other area that need to be fixed is my rear tire. Just from all the miles and jumps I have put my bike through lately I need to get it trued. Getting a wheel trued is just tightening certain spokes to make the wheel straight and unfortunately a truing stand to do this cost $300 so I will be taking it to my local bike shop.

Building a Kicker/Catcher

Building the Manual Machine gave me the bug to build more things I could use at home with my bike, so I decided to build a ramp. I started searching YouTube for videos of people building ramps so I could get an idea of the size, shape, and functionality I would want my ramp to have. After I found a video that I wanted to copy I only ended up needing three 2x4s and only one 2×6 which made this project relatively cheap. The ramp I decided to build would be classified as a kicker/ catcher, meaning it is not big at all it is built for small jumps and then catching you off of a bigger jump. I decided to go with this style ramp because it would be easy to move, it would be easy to practice my jumping without being big enough where I could get hurt, and I wanted the catching aspect in case I decide to build a bigger ramp in the future. I start the build by cutting the 2x4s into two foot wide slats which would be the part of the ramp that I actually ride on. Then I too the 2×6 and cut two pieces that are a foot and a half tall for the legs and used the remaining part of the 2×6 to brace the legs together, finally I took the left over 2x4s to tie the ramp together a  create the angle that the jump would be, this was the only tricky part because I used the last of the would for this part and if I messed up id have to go back to the store so I just played around with different lengths for the ramp and started long and made little cuts until I found the length that gave me the right angle to use. I think the ramp turned out better than I originally thought it would, it sturdy and I think it looks nice and it a good height and angle to be a kicker/ catcher ramp. When I got to test it out, I had a blast I was in my backyard just jumping off then riding back around to do it again. I really felt myself getting better control of the bike in the air just by repeatedly jumping off of it. I am really happy with how this turned out and I am excited to figure out what my next project is going to be.

Hitting the Trails

We had another good day in terms of weather which gave me the opportunity to go ride and this time the trails were dry enough to ride. I called my friend Jorden and we got to Blankets Creek around 10 am one morning to prepare for our ride. I always start my rides with a quick bike check and they normally go as followed: 1st: check air pressure I the tires. I like to have my front tire between 28-30 psi and my rear tire between 30-32 psi depending on the conditions of the trails, 2nd : I do a quick check of the bolt on the bike to make sure there are not any loose bolts or screw, 3rd: I check my drivetrain to make sure my derailleur (the part that helps me shift gears) is shifting the right amount of space, this is important because it can get knocked off center pretty easily if you are riding on rough trails or if you fall. With everything looking good we took off starting with our favorite trails “Dwelling Loop” which is a Blue (moderate) trail that has different trail splits that make is a Black (advanced) trail. It is about a 4 mile loop that has everything from hill climbs to downhill jumps and drop-offs depending on with split offs you take but all around this trail hits my favorite things. The ride started off great I felt good and was riding well. About halfway through there is a split off to a fast paced jump section which we always take because it is hands down the most fun part of the trail. As I was quickly descending behind Jorden, I went off the third jump a lot faster than I normally do and I flew off the lip of the jump and came down in the wrong spot. I hit a patch of dirt that was still soft from all the rain and my tire slipped right off the side of the trail and I crashed hard leaving me witch scrapes, bruises, and a small crater in my arm where a rock decided to take chunk of skin. I am alive and well, recovering and trying to reduce the size of this crater.  After the crash I took a minute to gather myself and do a quick check on my bike to make sure I did not break anything then we finished out the trail at a slow pace because I was hurting after my crash. I still love this sport and will be back on my bike shortly.

Biking with my MOM

Since the rain has finally taken a break, I have had some chances to ride my bike. YES! I have been waiting weeks to get on the trails and get some dirt on my tires that have been clean for too long. Unfortunately, a lot of the trails were soaked and super muddy, but the smaller trails tend to drain quicker. The small trails are not anything special they are built for access to other trails and for beginners, they are not the most fun for me. I decided to make the best out of a pretty day, and I convinced my mom who has only rode a bike a handful of times to go ride with me. She has had a bike for years, but I could count on one hand how many times she has rode it. I did a quick service on her bike before we left checking all the important parts making sure everything worked. Then we drove down to Blankets Creek (the closest trails to our house) and got ready to ride. I went over a few basics with my mom about how to control the bike a little better and some safety tips so she wouldn’t get hurt if she fell. My mom was a little nervous about going because she did not want to fall. To get my mom warmed up and a little more comfortable we started at the Skills Section at the start of the trails where you practice going over obstacles and your balance along of getting a preview of what could be on the trails. I took my mom on two separate green tails which are the easiest in the park. She did very well and as the day went on you could tell she was getting more comfortable and enjoying it. We were almost to the end of the trail when my mom slammed on her breaks right in front of a creek crossing where she started to panic a little bit because she didn’t know how to approach it. I crossed it to show her how to do it and talk her through the crossing. She slowly started backing up to build up some momentum and she rode right through it. We rode back to the car, packed everything up and went home.  All in all, it was a great time, I got to spend a couple of hours of my bike and enjoy being on trails all while spending time and teaching my mom some new skills.

Building a Manual Machine

Hey everyone! Well once again it is raining, and it does not seem like it will end anytime soon. The trails are slowly becoming part of Lake Allatoona and I am getting cabin fever and can not for the trails to get in riding condition. So yesterday we had a tiny break in the rain where I decided to try and build a manual machine, which is just a bike rack with support so you can practice wheelies and manuals. Primarily used to help a rider find the balance point to hold a manual or a wheelie in place. This is how the build went.

Everything I used for this build was found around my house. That’s where I made my first mistake, instead of going to Home Depot I just used scrap pieces of wood from other projects and I did not really have the proper size wood to start. I went forward with the project anyway with the idea of “I can make it work.” I started my measuring the length of my bike and then I took a spare 2inx6inx10ft plank of wood I had in the basement and cut the plank where I had an 8ft section and a 2ft section. The 8ft section was used for the base while the 2ft section was used to help support the back tire. I then took two spare 2inx4in and used them to help squeeze the tire to help hold it up. Here comes mistake number two, after I drilled the two 2x4s in I realized that it was way too wide for my back tire and again I took the “I can make it work” mentality and shoved more scrap wood to make the tire a little more snug. The next step I took was making the cross brace which hold together the base of the rack and the support piece by the back tire, this is really the only part of the project that went as planned and they did their job. The final step was the make a brace on the back of the stand to help stabilize the entire stand when I tried to lean back. I did not have a piece that I thought would be long enough to stabilize the stand with my bike and my body weight on it, so I improvised with a smaller piece (mistake number 3). All in all, I got the rack together similar to how I wanted it to look but when I brought it outside to test it, I lost my balance on the stand almost immediately and fell over. Problems: The two pieces that squeeze the back tire need to be taller and wider to squeeze my tire along with providing more support on the sidewalls, need to put more support on the back to make the stand a little stronger, I watched some YouTube videos and I want to add a strap to the front of the stand to hold my bike if I fall off, and finally I need to find the measurements I really want and go to Home Depot and get proper lumber for this project ( I think I could do this project with 2 2x6x10 planks, eye hook ,and strap). So, I will go to Home Depot soon and try again but for now unfortunately I do not have a manual machine, but I do have an unstable bike rack.

Product Review: Park Tool Repair Stand

Unfortunately, it is raining again…. As the weeks of rain grow longer, I just continue to crave the trails. Since I wont being posting any pictures or stories from a ride today, I will be doing a product review. I will be reviewing a product that is new to me but something I have used frequently since I got it. The Park Tool Home Mechanic Repair Stand – PCS-10.2. I got this repair stand for Christmas and I have wanted and needed a repair stand for about a year, so this is my review.

Overall, I love this repair stand. It is extremely sturdy, the clamp on my bike does not slip, and the tool tray is extremely convenient. A repair stand is not only used for repairs, it is useful in every situation you need to hold your bike, like washing your bike and even storage.  The Park Tool Home Mechanic Repair Stand – PCS-10.2 is a little on pricy side sitting at $199.95 on Amazon.com but I think it is well worth it. You are paying for the product along with the brand name when you buy something from Park Tool, they have a long history of making reliable, long lasting, and indestructible bike tools. I like personally products from park tool because of all these factors and because they normally have a specific tool for every project, and Park Tool has a YouTube channel where they show you step by step how to work on your bike and fix different problems. This repair stand Park Tool stand is one of many different models from professional grade to smaller repair stand you can drill into a work bench or wall. In particular this repair stand is perfect for all the work cyclist like me do at home. I used the repair stand yesterday when I washed my bike and changed out a couple of decals, it was extremely helpful. Holding my bike in place while scrubbing hard to reach places and holding the bike at the perfect level when I sat down to pick away at the old decals. The features on this repair stand include: Micro-adjustable clamp allows quick entry and exit and fits seat posts of any shape and material, height adjustable from 39″ to 57″ using convenient quick-release lever, all-steel structure with durable textured powder coat finish, folds quickly, easily and compactly for storage, and the Park Tools tray that has several holes for different sized tools.

This is honestly a great product and I am again pleased with a product from Park Tool. If you are looking for a bike stand for your home and want a well-built, versatile repair stand this is the one for you.

Link to product: https://www.amazon.com/Park-Tool-Mechanic-Repair-Stand/dp/B07PL5ZY8G/ref=sr_1_1_sspa?crid=33GABT0LCLZH2&keywords=park%2Btool%2Bbike%2Bstand&qid=1582040614&sprefix=park%2Btool%2Bbike%2Bstand%2Caps%2C146&sr=8-1-spons&smid=A2RNBXAVQ4OOHG&spLa=ZW5jcnlwdGVkUXVhbGlmaWVyPUEyNFdKRzU0NUFXRk1IJmVuY3J5cHRlZElkPUEwNDczNTU0NUVZNDZPS1ZKWFk4JmVuY3J5cHRlZEFkSWQ9QTAzMjQyMDUzMVBSN0tYVU45TURHJndpZGdldE5hbWU9c3BfYXRmJmFjdGlvbj1jbGlja1JlZGlyZWN0JmRvTm90TG9nQ2xpY2s9dHJ1ZQ&th=1&psc=1

I Need Better Weather

The weather in my area has been nasty lately, weeks of rain and not a lot of sunshine. The combination of the two leave the trail systems a complete mess. I have been itching to get on Gloria (my bike) and ride, but the trails are still closed because they need time to dry out honestly, they are more like a swampy mud pits rather than trails at the moment. So today I decided to do a few other activities with Gloria in preparation for the next time I get to ride. I replaced some decals, washed my bike, and did a minor service on my drivetrain.  

I started out taking off the decals. They were giving me a little trouble, so I grabbed a hairdryer to heat the decals up and make it easier to get them off. After I got the decals off, I used rubbing alcohol and a rag to scrub off the residue left by the decals. Then I brought Gloria outside to wash her before I put the new decals on. You must be careful when washing a mountain bike because the soap can damage some of the parts if you are not careful. After I washed and dried Gloria off I sat down to do the part that stresses me out the most, putting the decals on. The only reason it stresses me out is because it drives me crazy when a decal is not straight or if there are bubbles in it, but luckily today I did a pretty good job. I did manage to rip a letter in the decal, but I still got it to look normal in the end. I love the way they turned out, I put on two the say BUNDERWOOD (my nickname for some friends) and GLORIA (my bike’s name). The two decals match the font of Gloria’s brand, Santa Cruz. Having matching font makes look a lot cleaner than my last decals in my opinion.

After I got my new decals on and my bike was completely dry it was time for some maintenance. Remember how I said you must be careful when washing a mountain bike? Well I accidentally got too much soap in the drivetrain, so I had to put bike/ chain lube on the cassette (pictured) and the chain. To do so you just have to put s couple drops of the lubricant on each cog of the cassette as well as on the chain, then start to move the pedals to get all the parts moving while shifting gears to circulate the lubricant, finally take a rag and run chain through it to remove the excess lubricant. This is one of the easiest parts of maintenance when it comes to mountain bikes, but it is necessary.

 Unfortunately, I have not been able to ride lately but I am happy that I now how a clean bike with new decals that is ready to hit the trails the first chance I get!

Design a site like this with WordPress.com
Get started